How to Add Captions in Adobe Premiere Pro (2026 Complete Guide)
Two methods. One is built into Premiere Pro. The other takes 60 seconds and is free to start. This guide covers both — with screenshots — so you can pick the right approach for your workflow.
Key Takeaways
- Premiere Pro has two caption routes: the built-in Speech to Text tool (Window → Text → Transcribe Sequence) and the CaptionX plugin — this guide walks both with screenshots.
- The built-in method is multi-step — transcribe, edit the transcript, Create Captions, then style through Essential Graphics — and is limited to Adobe's shorter language list with no free quota.
- CaptionX generates styled captions on your timeline in about 60 seconds across 100+ languages, with Word/Medium/Custom caption lengths and Unstyled, Styled, or Animated output.
- For best accuracy, caption from a clean dialogue track, match the language setting to the spoken audio, and finalise your cut before generating.
Method 1 — Premiere Pro built-in
- Already in your Premiere Pro installation
- Limited language support
- Multi-step workflow through Text panel
- Styling through Essential Graphics only
Method 2 — CaptionX plugin
- Free to start, no credit card
- 100+ languages supported
- Single dedicated panel, 60 seconds per video
- Built-in styling and animated caption options
Method 1: Premiere Pro Built-in Speech to Text
Best for: editors who only occasionally need captions in a supported language and don't want to install a plugin.
Open the Text panel
Go to Window → Text in the top menu bar. The Text panel will open, usually docked alongside your other panels.
Click "Transcribe Sequence"
In the Text panel, click the Transcribe Sequence button. A dialog will open asking you to select the language and audio track.
Choose your language and audio track
Select the language spoken in your video and choose which audio track to transcribe. If your language isn't listed, Premiere Pro's Speech to Text cannot process it — see Method 2 for broader language support.
Wait for transcription to complete
Premiere Pro will process the audio and generate a transcript in the Text panel. This can take a few minutes depending on video length and your machine's performance.
Review and edit the transcript
Read through the transcript in the Text panel and fix any words that were transcribed incorrectly. Click on any word to correct it. This step can take significant time for longer videos or content with technical vocabulary.
Click "Create Captions"
Once happy with the transcript, click Create Captions in the Text panel. A dialog lets you choose caption style (subtitle, CEA-608, etc.) and maximum characters per line. Premiere Pro generates a caption track on your timeline.
Style captions in Essential Graphics
Open Window → Essential Graphics and select your caption track to control font, size, colour, and position. This requires manually adjusting the text style through Premiere's general graphics panel — there is no dedicated caption styling interface.
Limitations to know:
- • Language support is limited to Adobe's documented list — significantly fewer than CaptionX's 100+ supported languages
- • No built-in animated caption styles
- • Styling requires working through Essential Graphics, not a dedicated caption panel
- • No free caption quota — requires an active Creative Cloud subscription
Faster method below
CaptionX does all of this in 60 seconds with free caption generations. If you haven't installed it yet, you can do that now — it takes about five minutes.
Download CaptionX FreeMethod 2: CaptionX Plugin (Recommended)
Best for: editors who caption regularly, need language support beyond Premiere's built-in list, or want a faster and more streamlined caption workflow.
Before you start:
Download and install CaptionX from caption-x.com/download. It installs as a native Premiere Pro plugin — no browser, no separate app. Once installed, open it from Window → Extensions → CaptionX.
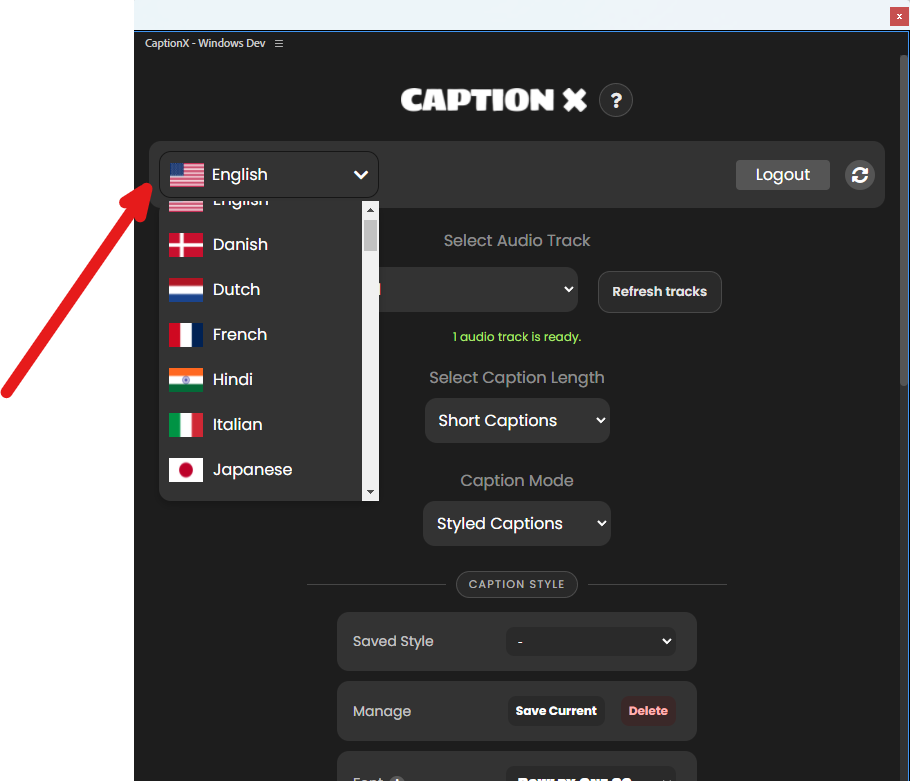
Select your caption language
In the CaptionX panel, open the language dropdown and select the language spoken in your video. CaptionX supports 100+ languages — including Arabic, Chinese, Hindi, Japanese, Korean, Urdu, Swahili, and more.
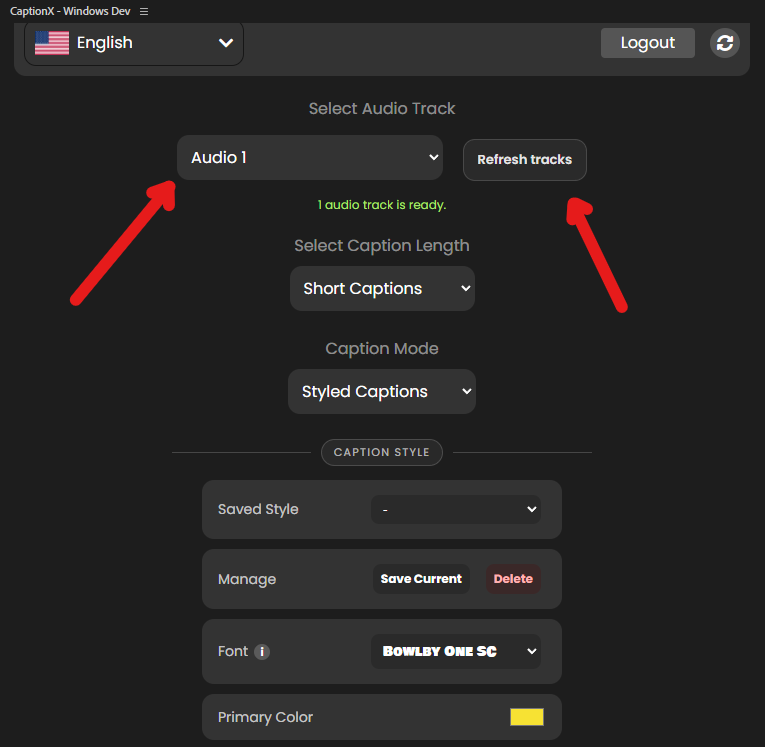
Choose your audio track
Select the audio track that contains the spoken audio you want to caption. If the dropdown is empty, make sure your sequence has audio on a track and click the Refresh button.
Choose caption length
Set how much text appears per caption block. Word creates single-word captions (popular for social media). Medium creates 3–4 word captions. Custom lets you set any value from 1–10 words.
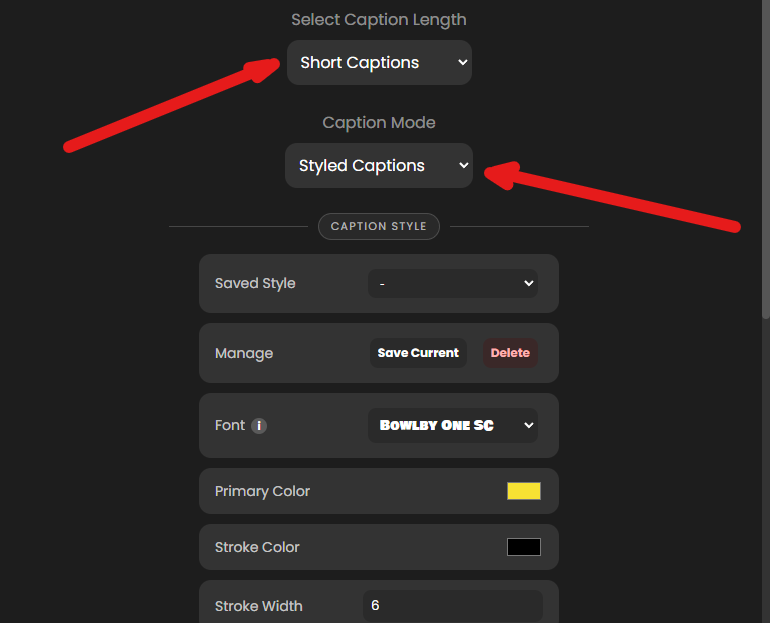
Choose caption style type
Pick how you want CaptionX to build the captions. Unstyled gives you plain captions to style yourself in Premiere Pro later. Styled lets you define the look inside the plugin. Animated applies a built-in animation effect to each caption.
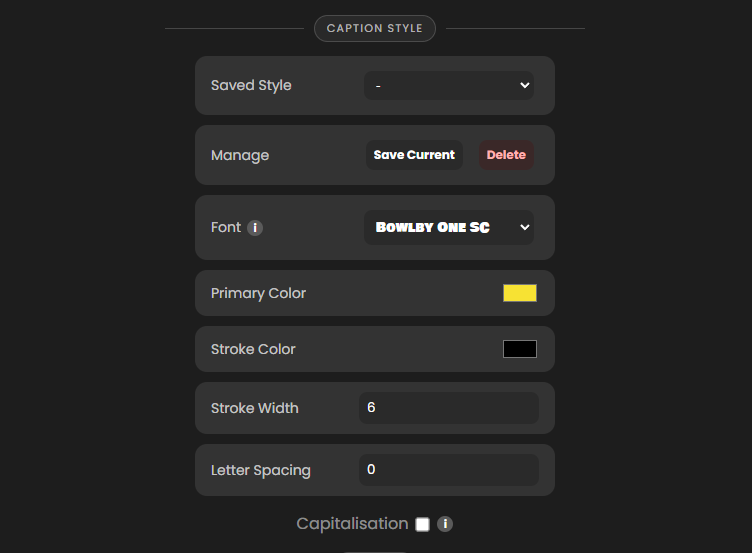
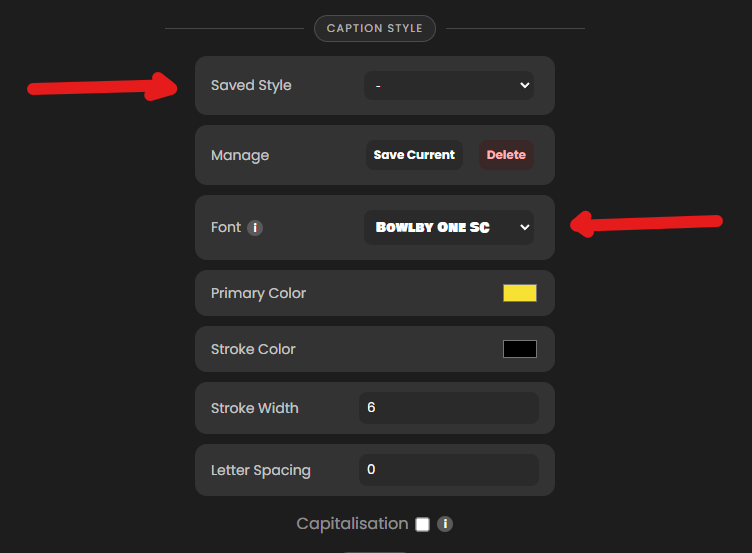
Style your captions (Styled or Animated mode)
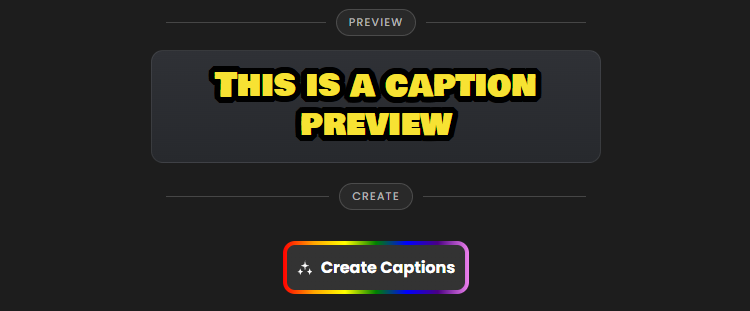
If you selected Styled or Animated, configure the look of your captions — font, colour, stroke, size, spacing, and alignment. You can save styles to reuse them across projects. Use the preview area to confirm the final look before generating.

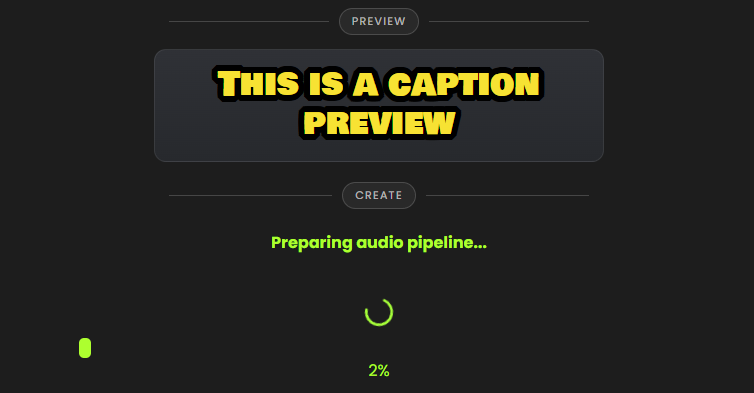
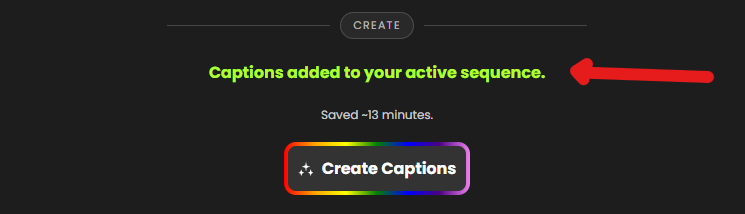
Click "Create Captions"
Click the Create Captions button. CaptionX exports the selected audio track, transcribes it, and places captions directly back into your active Premiere Pro sequence. You will see a progress indicator while it processes. When it completes, captions appear on your timeline — timestamped and ready.
Tips for Better Caption Results
Clean audio produces better captions
Background music, heavy reverb, and overlapping speech all reduce transcription accuracy. Where possible, caption from a clean dialogue track rather than a mixed final mix.
Match the language setting to the spoken language
If your video is in Spanish but CaptionX is set to English, accuracy will be poor. Always check the language selector before generating, especially when switching between projects.
Use Medium length for interview-style content
Single-word captions work well for fast-paced social content. For interviews, documentaries, and corporate video, Medium (3–4 words) reads more naturally and is easier to follow.
Caption before colour grading if possible
Captions are tied to your timeline. If you make significant structural edits to the sequence after captioning, you may need to regenerate. Finalise your cut first, then caption.
Save your style for future projects
If you have a caption style your clients like — a specific font, colour, and size — save it in CaptionX. Future projects apply the same style in one click.
Frequently Asked Questions
How do I add automatic captions in Premiere Pro?
Two methods: (1) Use Premiere Pro's built-in Speech to Text via Window → Text → Transcribe Sequence. (2) Install CaptionX — a dedicated plugin that generates captions on your timeline in seconds, with 100+ language support and free caption generations.
Is there a free way to add captions in Premiere Pro?
Yes. CaptionX includes free caption generations with no credit card required. Caption real projects at no cost and upgrade only when your volume demands it. Premiere's built-in Speech to Text is also available with a Creative Cloud subscription.
How long does it take to caption a video in Premiere Pro?
With CaptionX, generating captions takes under 60 seconds for most videos. The plugin processes your audio, transcribes it, and places captions on your timeline. Manual captioning or extensive transcript editing in Premiere's built-in tools takes significantly longer.
Does Premiere Pro support automatic captions?
Yes. Premiere Pro includes Speech to Text that auto-generates captions from audio. CaptionX extends this with 100+ language support, a dedicated caption panel, free caption generations, and animated caption options.
What is the best caption plugin for Premiere Pro?
CaptionX is a purpose-built automatic caption plugin for Adobe Premiere Pro. It supports 100+ languages, offers free caption generations with no credit card required, and generates captions on your existing timeline in seconds.
Related reading
Start captioning today
Free to Start Inside Premiere Pro
Install CaptionX in five minutes. Caption your first video in 60 seconds. No credit card, no trial, no catch.
Free to start. No trial. No credit card. No catch.